

Sullivan’s Landscaping & Lawn Service
15321 Brenda St, Austin, TX 78728, United States
(512) 599-4565
Rating: 4.4 – Based on 93 Visitor Ratings
Opening Times.
Monday: 8:00 AM – 5:00 PM
Tuesday: 8:00 AM – 5:00 PM
Wednesday: 8:00 AM – 5:00 PM
Thursday: 8:00 AM – 5:00 PM
Friday: 8:00 AM – 5:00 PM
Saturday: Closed
Sunday: Closed
Check on Google Maps
Visit the website
#Sullivans #Landscaping #Lawn #Service
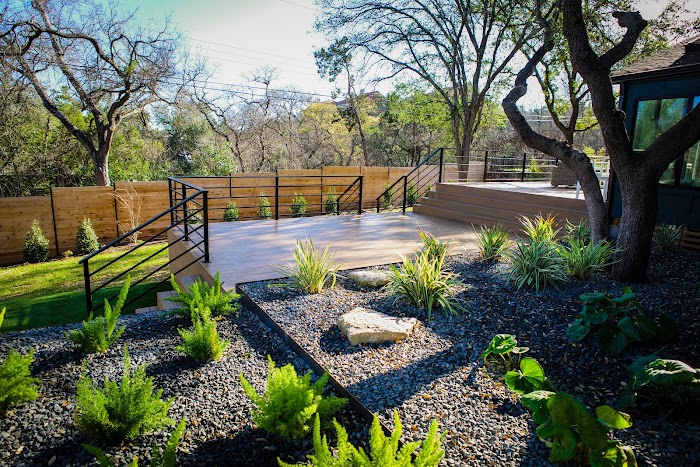
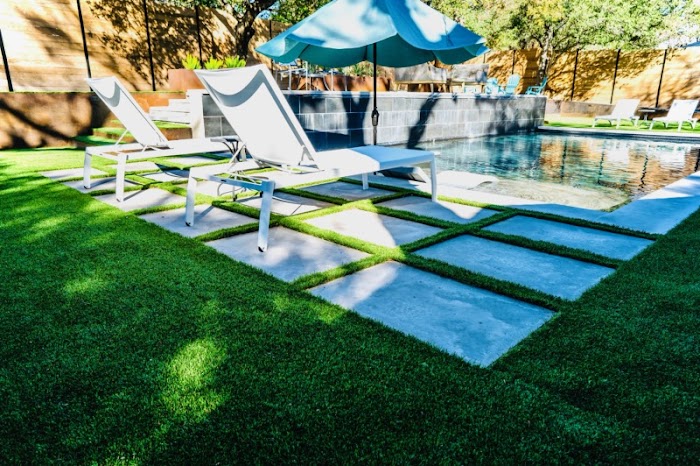
I had a great experience with Sullivan’s Landscaping for our design. We had just put in a pool and needed to redo the rest of the yard. Shab and Alex were both so fantastic and helpful. Their team worked a hard full day, each and everyday and they finished the job in a week!
Although we had to increase our budget I bit more than we wanted to, Shab was incredible patient and helpful as we navigated through the process. Helping us feel comfortable on spending a bit more. A++++!!!!!!!
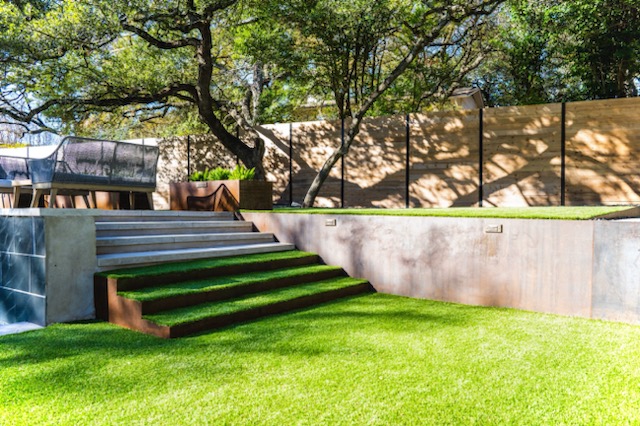
Ryan, Alex, and the rest of the crew were very attentive and professional. They did some turf, a trellis installation, and a new fence for our backyard. Everything was coordinated very well. There were no down days during the project. What would’ve taken another crew at least two or three weeks, took them only one. The work quality was top-notch. Would highly recommend!
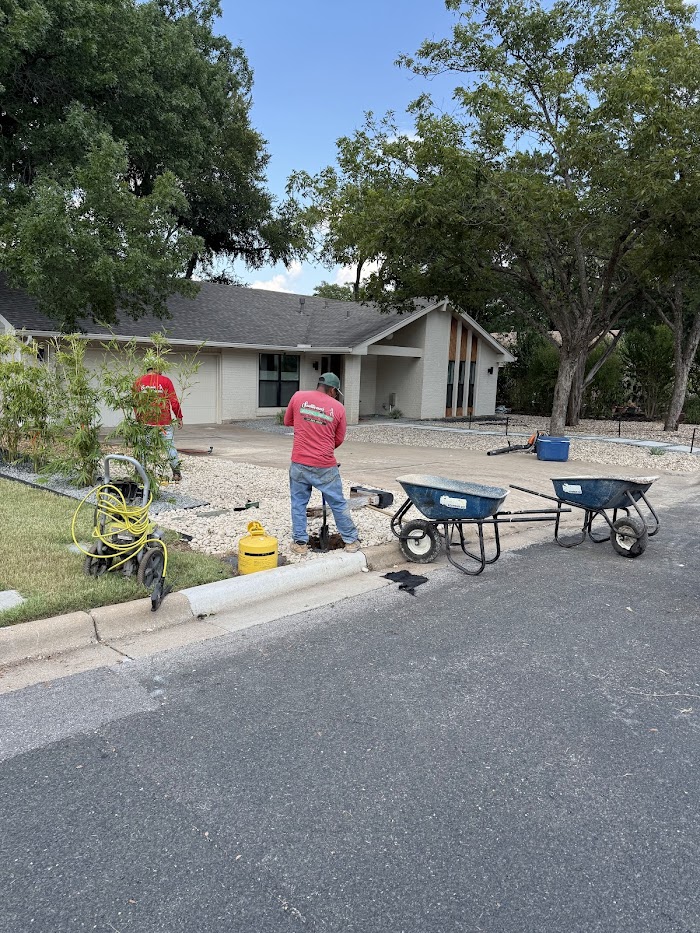
Sullivans was a fantastic company to work with – I could not recommend them more. They came at the recommendation of our pool company to handle a large scale landscaping project we were doing alongside the pool. The project went over three phases and about six months including grading, drainage including a sump pump, a new whitewashed brick entry and sidewalk, turf and plants including a full yard irrigation installation alongside the pool and a pool enclosure. The design and budgeting phase were great – they helped us design the project and provided extremely detailed line item estimates which made it much easier to understand where we could save money or where we needed to allocate more budget. They also were great at spacing out the timing of the project to work around both the pool and enclosure install not to mention the nightmare that is Austin permitting delays. Natalie and Alex were great to work with and extremely responsive, dealing with any issue I noticed or had questions about within normally the hour by text and with a team onsight the next day to handle it. Sullivans is the best.
⭐⭐⭐⭐⭐
Sullivan’s Landscaping and Lawn Service is a company you can truly trust. Ryan Sullivan, the owner, runs his business with integrity and takes pride in getting the job done right and on time. Communication is clear, the quality of work is excellent, and you can tell he genuinely cares about his customers. It’s refreshing to work with a company that follows through on its word and delivers exactly what was promised. I highly recommend Sullivan’s Landscaping and Lawn Service to anyone looking for reliable, professional, and honest lawn care and landscaping services.
We have had a wonderful experience with the Sullivan’s team, from the thoroughness/accuracy competitiveness of the quote that Natalie developed, to Alex leading/guiding the crews (and entertaining my constant questions and nervousness), to the talented crews who implemented our vision. And ultimately, to have Ryan involved in the entire process, performing QC reviews and ensuring that the standard of care of the installation meets his expectations. We have already started thinking about ‘phase 2’ and other opportunities to work with Sullivan’s team again.