CHICAGO — Since 1837, Chicago has been known as an “Urbs in Horto” — a “city in a garden.”
While much has changed over the past 190 years, Chicago’s agricultural roots are deeply ingrained. Indigenous groups such as the Potawatomi, Ojibwe and Odawa tribes grew crops like corn, beans and squash — vegetables that are still among the top produced in the city.
But with limited space, harsh winters and scorching summers, how do urban gardeners do it?
We broke down the basics of how to start your very own “Hortus in Urbe” — or “garden in a city.”
First Steps
There are a few critical steps to starting your garden: determining a location, deciding on a garden type and acquiring the necessary tools.
Where To Plant
It’s first crucial to figure out where you’ll plant, said Natasha Nicholes, executive director of We Sow We Grow, an agricultural nonprofit in West Pullman. Do you plan to use pots and containers on your balcony? Is there a raised bed in a nearby park or rooftop you have access to? Are you lucky enough to have a yard? The space available will be a helpful starting point for deciding what to plant.
Some plants require more sun and warmth, while others prefer cooler, shady spots, Nicholes said. Similarly, some crops — like corn, raspberries and tomatoes — need more space — while foods like carrots, radishes and herbs can be more tightly planted.
Figuring out what area is available for planting and how much sun or shade it has will help guide you to what will work and what won’t.
“We want people to start with the space that they can manage,” Nicholes said. “A lot of people want to get that full garden that they see on Instagram … not knowing how much work they’re gonna have to put in.”
Remember: Gardening is an active hobby, Nicholes said. You “can’t just sit back in the house. You actually have to go and check on everything regularly.”

In-Ground
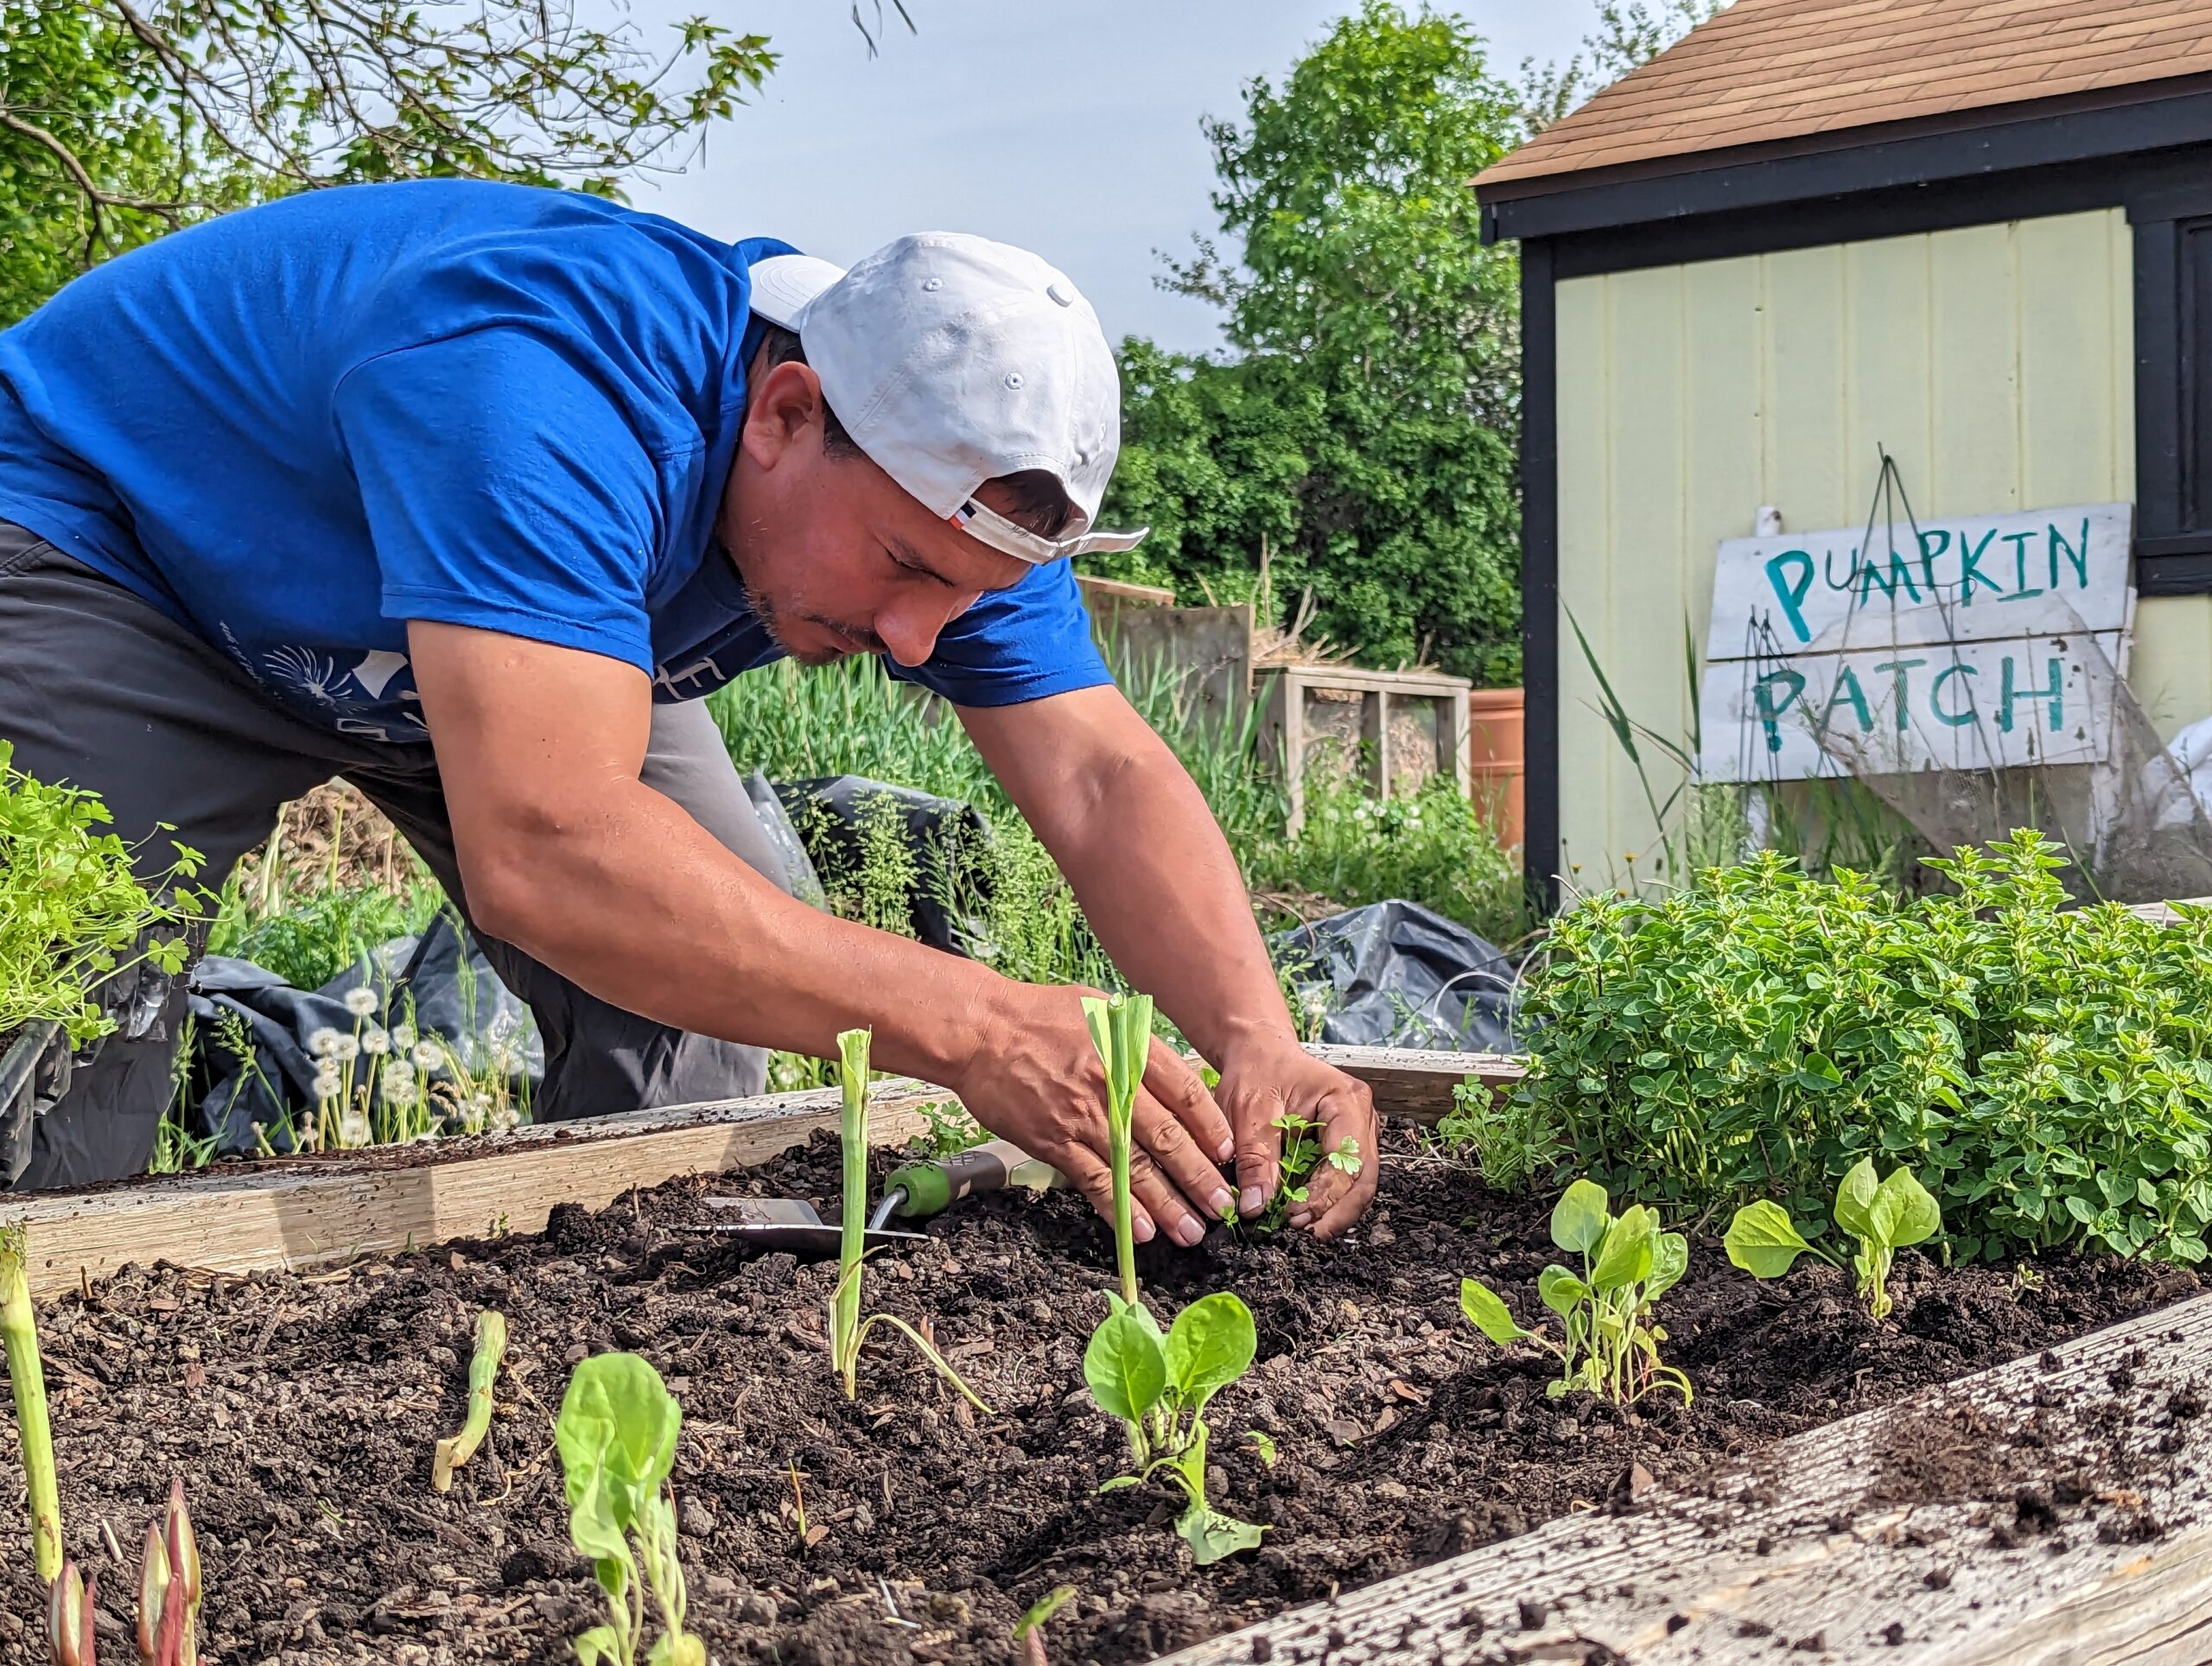
If possible, planting directly in the ground is a great option. This is the classic style of vegetable gardening and often offers the most space — above and below ground.
Another thing to consider when identifying space for an in-ground garden is the local animal scene, such as rabbits, squirrels and birds. Depending on the crops, there is a good chance these creatures may want a bite — and there is no gardening frustration quite like squirrels constantly eating your pumpkins. Netting, fencing and other borders are common ways to keep these critters out of the planting area.
Clear your gardening space of debris like weeds, dead leaves, rocks, garbage and sticks using your hands (wear gloves!) and/or a rake. Next, loosen the soil by tilling it with a rake, breaking up big clumps and creating a soft, even base for seeds. Before planting, it may also be worth adding compost and fertilizer to the soil, which will improve the growing conditions and add nutrients to the dirt.
Remember to test your soil if you’re not sure if it’s safe, as eating produce grown in soil contaminated with heavy metals and other things can be a risk to your health.
Raised Beds
Another good growing option includes community plots and raised garden beds. Raised beds are above-ground gardening spaces that are like a mix between in-ground and container gardening. These gardens are contained within a defined space, usually with a border; for example, a simple wooden rectangle or a metal trough without a bottom. Then, the space is filled with several inches of soil on top of the ground.
A major advantage to this style is that the roots are able to go further into the ground, and it’s a great set-up for smaller spaces. A bed can contain a number of different plants, or be dedicated to solely one crop. With raised beds, flexibility and control are the name of the game.
Like in-ground gardening, prepare the soil by cleaning and loosening, and consider adding additional nutrients to maximize the yield.
Pots And Containers
But what if you don’t have access to ground space for a raised bed or traditional garden? No problem — pots and other containers work just fine for plenty of crops. In fact, for some plants like mint, raspberries, tomatoes, potatoes and peppers, containers are preferred or the norm. Mint and raspberries both spread quickly via an underground rhizome stem system, so keeping them confined to containers helps ensure they don’t take over the entire garden.
All you need is a balcony, stoop, or creative spot where a few pots or window boxes could sit outdoors. Window boxes are great for herbs, while medium to large pots can easily handle larger fruits and veggies.
These require potting soil over topsoil, so any planting material can be hauled up to a third-floor walk-up via bag rather than a wheelbarrow or bucket. And since your potting base will be sterile, there isn’t much preparation aside from collecting your containers in a suitable space and filling them with potting soil.


Soil, Fertilizer And Compost
While the terms soil, topsoil and potting soil are often used interchangeably, they are different things — the same can be said for fertilizer and compost.
Here are the differences:
- Soil: Soil can refer to any layer of soil, or dirt in general.
- Topsoil: Topsoil, or garden soil, is the top layer of soil in the ground, which is rich in nutrients and made of things like dirt, silt, clay, sand and organic matter like dead leaves.
- Potting soil: Potting soil is used specifically for gardening in pots and containers and actually contains no soil. Instead, it’s a sterile, fungus-free blend of components like bark, perlite and sphagnum moss.
- Fertilizer: Fertilizer, made chemically or naturally, feeds the plants. Natural fertilizer can include components of animal byproducts, like manure.
- Compost: Compost is made of decomposed organic matter like leaves and food scraps and adds nutrients to the soil. Many people make compost at home with a countertop or outdoor composting container.
Want to get extra nerdy? You can have your soil tested to see what nutrients it may need, like nitrogen, phosphorus and potassium.
What Tools You’ll Need
Regardless of where you plant, there are basic tools worth having to prepare and maintain the space. Some of these are to protect you, while others are to till and move soil and plant.
Essentials include:
- Gloves
- Hat
- Kneepad or stool
- Shovel
- Rake
- Hand trowel
- Hand rake
- Pruning shears (small)
- Garden fork
- Wheelbarrow
- Garden shears (large)
- Hose or large watering can

Planning What To Grow
Now that you’ve identified a space, have your tools, know your soil needs and have evaluated your levels of sun and shade, it’s time to pick out what you’ll grow.
First and foremost, Chicago gardeners should look for crops that do well within the U.S. Department of Agriculture’s Zone 6a and 6b on its Hardiness Map, Nicholes said. The Hardiness Zone Map divides the country into sections based on climate, so choosing plants within your zone is crucial to ensuring they can handle the weather and growing conditions of the region. For example, lemon trees can’t survive Midwest winters unless you bring them inside, Nicholes noted.
The typical Chicago growing season occurs between April or May and October depending on the crop, according to the University of Illinois.
When choosing plants, also consider if they have an annual, biennial or perennial life cycle. Annuals, like radishes, only have one life cycle and must be regrown from seed, while perennial plants, like mint, grow, bloom, die and return on their own each year without needing to be replanted. Biennial plants, like broccoli, have a two-year cycle — meaning it takes two years for the plant to grow, reach maturity and die. Seed packets and growing containers usually contain this information.
But perhaps the biggest question is: What do you want to eat? Do you want a salad garden with greens, tomatoes, peppers and cucumbers? Do you prefer a berry garden with blueberries, currants and raspberries? Many gardeners also choose to include herbs in the selection, with herb gardens being among the easiest to grow.
No matter what you choose, planning will help you from over- or under-buying supplies, Nicholes said.
Common Chicago Vegetable Garden Plants
While this isn’t a comprehensive list, below are plants recommended by the University of Illinois for the Chicago area to help get you started.
Vegetables:
- Beans (snap, lima)
- Radishes
- Potatoes
- Sweet potatoes
- Rhubarb
- Tomatoes
- Peppers
- Asparagus
- Brussels sprouts
- Carrots
- Green onions
- Cucumber
- Pumpkin
- Watermelon
- Squash
- Corn
Leafy greens:
- Arugula
- Butterhead
- Cabbage
- Collards
- Kohlrabi
- Mustard greens
- Romaine
- Spinach
- Kale
- Swiss chard
Berries:
- Raspberries
- Blueberries
- Strawberries
- Blackberries
- Currants
Herbs:
- Basil
- Cilantro
- Dill
- Oregano
- Thyme
- Rosemary
- Chives
- Sage
- Lemon balm
- Mint
- Pro tip: Only grow mint in containers — it’s prolific and can take over your yard if planted in the ground.
For beginners, Nicholes recommends zucchini, radishes, basil, bush beans and leafy greens like collard greens, mustard greens and turnip greens.
Planting The Garden
With your crops, garden area and soil type locked in — it’s time to plant. Typically, gardeners use three methods for beginning the growing process: starting seeds indoors, buying starter plants from a greenhouse or store, or planting seeds directly outdoors. Depending on the weather, your timing and space, a mix of all three could be used. Regardless, it’s important to plant at the right time in the season and to plant strategically.
When To Plant In Chicago
Check out this guide to see when you should plant indoors, transplant and direct sow in the Chicago area. These dates are just a loose guide, though, as weather changes from year to year.
Starting Seeds Indoors
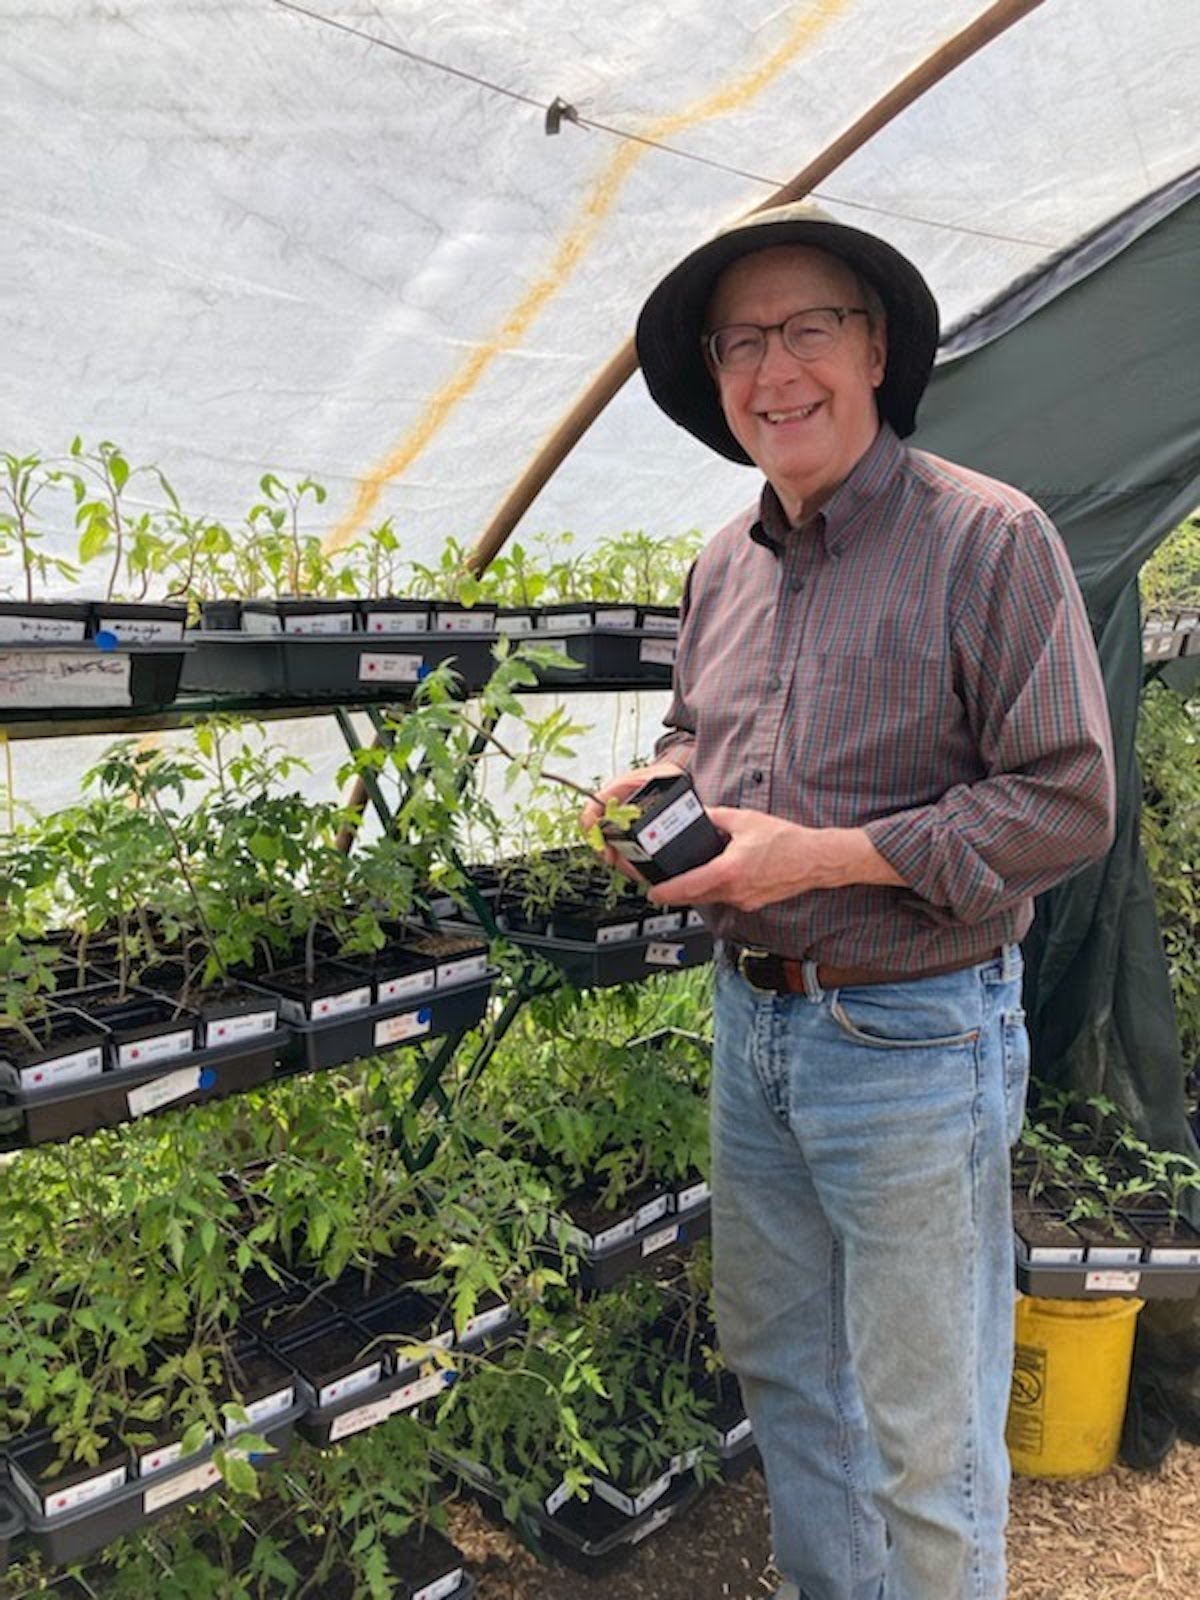
Starting seeds indoors is an easy way to get a jumpstart on your garden. This process involves buying seeds, getting a seed starting mix and containers, and finding a place with access to great light. Starting your own seeds is often cheaper than buying pre-started plants from stores — and you get to control exactly which variety of plant you grow.
Cool-season vegetables like cabbage and broccoli should be started by seed in late February or very early March, while warm-loving plants like tomatoes can wait to be started until later in March or early April.
Here’s what you’ll need:
- Seed starting mix — not topsoil or garden soil
- Seeds
- Containers such as egg cartons, Tupperware or other clean plastic containers, or sheets of cell flats that are made for starting seeds
- Plastic covers for the containers, such as plastic wrap
- A strong light source like a south-facing window, lamps or fluorescent lighting
- A spray bottle or small watering can
Here’s how to do it:
- Seed mix is mixed with water to give it a spongy, but not sopping, texture.
- Add the seed mix to the containers.
- Check the back of the seed packet to see its recommended planting depth and use your finger or a pencil to make an indentation in the seed mix.
- Drop in two to three seeds in the hole and cover it lightly but fully with the required amount of seed mix, which should be on the back of the packet.
- Tap the spot with your finger to make sure it’s packed down enough — but isn’t too tight.
- Use a spray bottle to spritz the seed mix, and then cover it with plastic.
- If you’d like, you can use a heat mat to keep the seeds warm (warmth is needed for germination), though this isn’t required.
- Keep the seed mix moist.
- Once seedlings appear, take off the plastic but continue to water.
Once the last frost is over (about May 15) the seedlings can be moved into the garden. But before that, harden them off slowly by taking them outside for longer and longer periods over several days, gradually preparing them for sunlight and wind.
Buying Starters
Another option is to buy seedlings from a greenhouse or store. These typically start appearing in stores in March. This is a good method if you realize it’s too late to start a veggie or herb you wanted by seed or if you’re buying a crop that can take years to produce, like blueberries. The downside is that this is usually more expensive; expect to pay at least several dollars per plant. The plants may also be more prone to disease or insects, depending on where and how they were initially grown. However, it’s common for gardeners to supplement their homegrown seedlings with store-bought starters.
“Everybody wants to start from seed,” Nicholes said. “Do not think you’re cheating by buying starts.”
Sowing Directly
You can also start seedlings for warm-season crops directly in the garden once it’s warm enough. To do this, prepare the soil by making sure it’s clean and loose, then use your finger or the handle of a trowel to make rows or indents in the dirt for seeds. Refer to the seed packets to see how deep and far apart they should be planted. Generously shower them with water.
When To Transfer Seedlings To The Garden
Warm-season and cool-season crops are planted at different times outdoors. Cool-season crops, like kale and spinach, can be planted earlier, even if it’s still frosty outside. These plants can withstand cooler temperatures and can be planted between two and six weeks before the last frost. Warm-season crops, like peppers, must wait to be planted outdoors until the last frost is over — typically around May 15 for Chicago.
When you do transfer the seedlings, make sure the garden is free of debris and the soil is loosened. Check the seed packets to see how far apart the seedlings should be spaced and how deep they should be planted. Make sure their roots are covered. Plant early in the day, in the evening or on a cool, cloudy day to stress the plant the least — never at the height of the afternoon. Water generously at the base and check back each day to monitor its progress.
Thinking of starting a garden later in the season? Check out our guide to summer and fall gardening.

Using Garden Supports
Some plants benefit from supports such as poles, lattices, netting, cages and trellises. Using these can help ensure the crop grows correctly and can help save space in the garden. It can also make harvests more bountiful and plants less vulnerable to rodents, insects and disease.
Common supports are tomato cages, stakes for beans and trellises for cucumbers or other viney plants. These can be store-bought or you can get creative with what you have, like using twine to stake beans.
Companion Planting
When deciding where to place, a popular and helpful concept is the companion planting strategy.
The idea is to plant to create a mutually beneficial microenvironment where all the plants offer something to each other and therefore grow better. Companion planting can help repel bugs and critters and attract pollinators, as well as provide shade, protection, weed control and structural support.
“Grow plants with similar growing conditions together,” Nicholes said.
The strategy usually involves a specific mix of herbs, fruits, veggies, greens and flowers all planted within the same area. For example, tomatoes are often planted with basil and marigolds; basil’s strong scent repels hornworms that eat tomatoes, and marigolds can help protect tomatoes from root-eating roundworms and attract pollinating bees. Other helpful flowers include zinnias, sunflowers and nasturtium, Nicholes said.
Care And Maintenance
Once the garden is fully planted and there is no more fear of frost, it’s time to enjoy watching your crops grow and flourish. However, they still need help along the way — including watering and, the best part, harvesting.
Watering
Keeping plants hydrated and their roots cool and moist is essential. Water early in the morning or in the evening, but not in the hot, sunny afternoon.
When you do water, make sure it’s only at the base of the plant; avoid getting the leaves wet. Like anything else, don’t go overboard and flood the garden, but make sure your plants get healthy watering regularly, especially early on when seedlings are still growing. Some plants — like tomatoes — want more water than others.
Nicholes also recommends using a reliable weather application on your phone, which can save you time and resources. For example, if you know it will rain on a day you planned to water, you’re off the hook. Nicholes uses the Tomorrow.io app.

Harvesting
Like planting and watering, it’s best to save harvesting for early in the morning or in the cooler evening. Use color, size and feel as clues for when the fruit is ripe. Don’t let it languish on the stem too long or it will go bad, including rotting. For example, cucumbers left on the vine can become huge, but their taste becomes extremely bitter. Zucchini grow enormous in just a matter of days, but then they get seedy and won’t be as tasty as smaller squash.
When picking, be gentle. If something is hard to remove from the plant, it could be a sign it’s not yet ready to be harvested.
Some plants also benefit from special harvesting techniques. If you clip basil at the right spot, above a node, it will focus on growing more branches with leaves, ultimately providing you with more basil.
After you’ve got your produce of choice, shake off excess dirt and remove extra leaves. Bring a basket, bowl, bag or apron to hold the picked fruits and veggies.
The only thing left now is to wash, eat, share and enjoy.

As you embark on your gardening journey, creating community is one of the best ways to learn and stay motivated, Nicholes said.
“It helps growing with a community,” the farmer said. “If you can work with community, whether it’s online or in person, you want to connect with people who are going through the same thing … so you won’t feel as alone and you won’t be prone to giving up.”
Especially in the fickle Chicago weather, it’s easy to get discouraged when gardens don’t grow as planned. Connecting with other gardeners is also a great resource for asking questions — and there will be plenty, Nicholes said.
“The very first growers didn’t have the internet,” Nicholes said. “They tossed the seeds in the ground and saw that something happened.”
We Grow We Sow also offers workshops and resources for those who may need some extra help.
Ultimately, “nobody’s ever going to have the perfect garden,” Nicholes said. “You gotta have fun.”
Listen to the Block Club Chicago podcast: