Pumpkins are a popular vegetable to grow in gardens, but limited space can often make it difficult for people who live in urban areas or have small yards.
One solution to this problem is growing pumpkins in grow bags.
Not only do grow bags save space, but they also offer other benefits that make them a great option for pumpkin cultivation.
The Benefits of Growing Pumpkins in Grow Bags
There are several advantages to growing pumpkins in grow bags. One of the most significant benefits is that they allow you to grow pumpkins in areas where traditional gardening methods might not be possible.
For example, if you live in an apartment or have limited yard space, you can still enjoy fresh pumpkins by using grow bags.
Another benefit of using grow bags for pumpkin cultivation is that they are portable and easy to move around.
This means you can change the location of your pumpkin plants as needed to ensure they get the right amount of sunlight and water.
The Ease and Convenience of Using Grow Bags for Pumpkin Cultivation
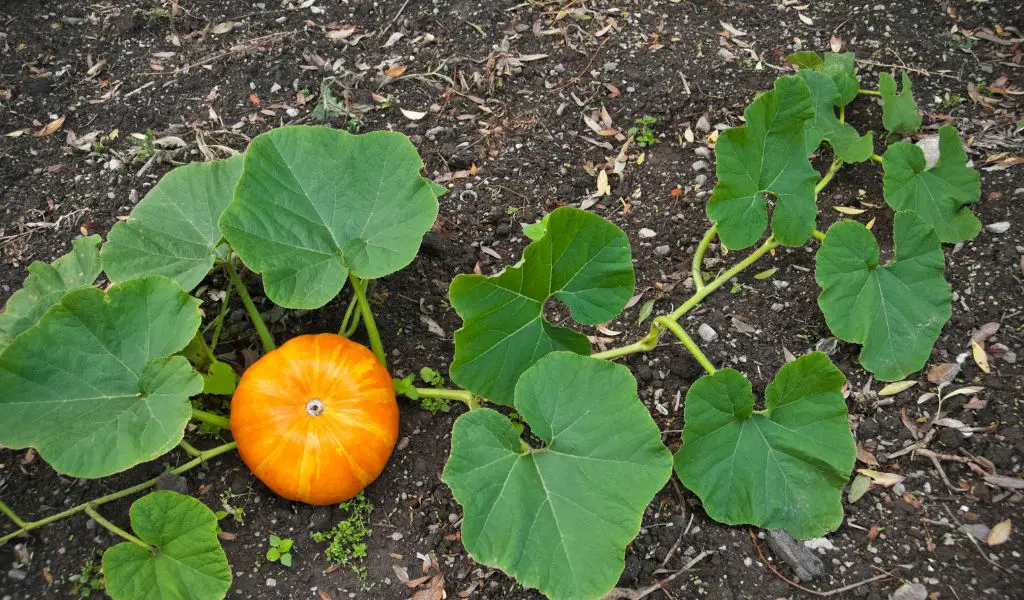
Grow bags are incredibly easy to use for pumpkin cultivation. They require very little setup time and effort compared to traditional gardening methods. All you need is a suitable location, quality soil, and some seeds or seedlings.
Using grow bags also eliminates the need for weeding because there are no weeds growing inside the bag.
Additionally, pests such as slugs and snails find it challenging to crawl up the sides of these containers because they lack any real foothold.
In terms of convenience, using a grow bag means that your plants will require less watering than if grown directly on the ground since there’s no place for water to escape from them easily.
Also, because each bag has its own independent environment system, you’ll never have unexpected drainage issues from overwatering or poor soil drainage.
Growing pumpkins in grow bags is an excellent way to save space, create a portable garden, and enjoy fresh pumpkins even in areas where traditional gardening methods might not be feasible.
Additionally, using grow bags eliminates weeding needs, deters pests such as snails and slugs, requires less watering than typical ground-level growing methods., and provides a predictable drainage system.
Choosing the Right Grow Bags
The Different Types of Grow Bags Available in the Market and their Pros and Cons
When it comes to selecting grow bags for pumpkin cultivation, there are several options available in the market. Some of the most popular types of grow bags include plastic, fabric, and biodegradable bags.
Each type has its own benefits and drawbacks that gardeners should consider before making a purchase. Plastic grow bags are durable and can last for several seasons.
They come in a variety of sizes, shapes, colors, and thicknesses. They also tend to retain moisture better than other types of grow bags.
However, plastic bags are not breathable, which can lead to root rot if overwatered or if drainage is poor. Fabric grow bags are made from porous materials that allow air and water to circulate freely through the soil.
This promotes healthy root growth while preventing moisture buildup and fungal issues. Fabric bags also tend to be reusable and eco-friendly since they do not contribute to plastic waste.
However, they may require more frequent watering than plastic or biodegradable grow bags.
Biodegradable grow bags are made from organic materials such as coconut coir or peat moss that break down over time in soil.
These types of bags eliminate the need for transplanting as they can be planted directly into the ground along with the plant.
Biodegradable grow sacks provide excellent drainage properties while maintaining an optimum level of air inside them but may disintegrate prematurely if exposed to too much moisture.
Selecting a Sizeable Grow Bag That Can Accommodate a Pumpkin Plant
When selecting a suitable size for your pumpkin plant’s growth bag/container is imperative – too small can cause stunted growth; too big can lead plants wasting energy on creating foliage instead of fruit production.
Typically an 18-inch diameter container will suffice for smaller pumpkin varieties and around 24-30 inches for larger pumpkins. It is also essential to ensure that the grow bag is deep enough to support healthy root development, and it has holes punched in the bottom for drainage.
Keep in mind that a container might have as much as one-third of its volume filled with potting soil, meaning a 15-gallon grow bag will hold approximately five gallons of garden soil.
As such, when selecting your pumpkin’s grow bag size, consider the plant’s mature size and how much soil it will require.
It is crucial to consider several factors when choosing appropriate grow bags for pumpkin cultivation. Plastic bags offer durability while fabric bags are breathable and eco-friendly.
Biodegradable sacks are great at drainage properties but can disintegrate prematurely if exposed to too much moisture.
Additionally, gardeners should select a sizeable grow bag/container to accommodate their chosen pumpkin variety while ensuring there’s enough depth for healthy root growth and proper drainage holes punched at the bottom of the container.
Preparing the Grow Bags
Filling the Grow Bags
Before planting your pumpkin seeds or seedlings in a grow bag, you need to prepare the bag itself. Firstly, choose a high-quality grow bag that is large enough to accommodate your pumpkin plant.
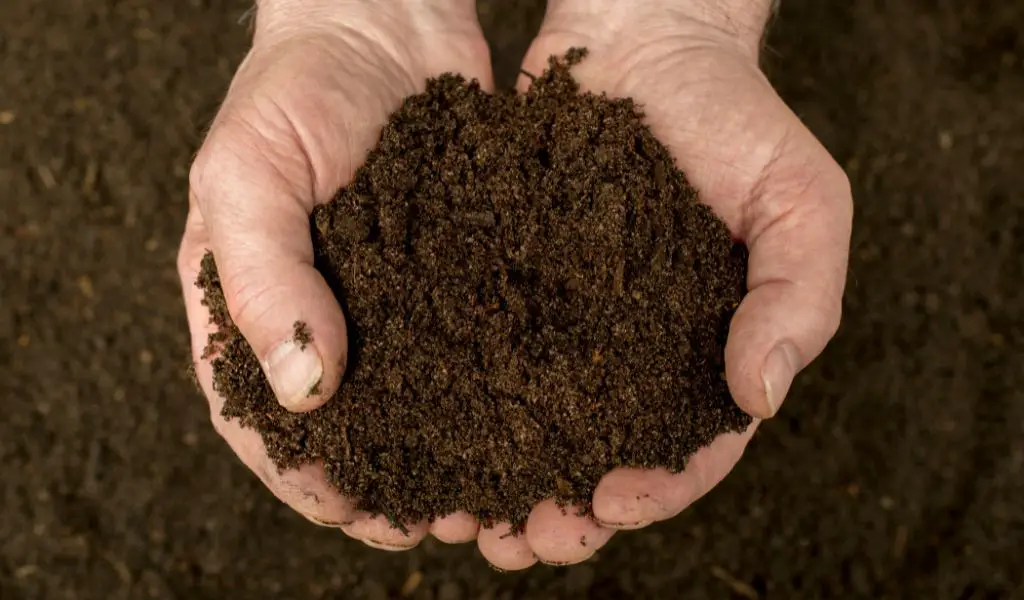
A grow bag that is at least 20-25 gallons in size will provide ample space for pumpkin roots to develop and ensure proper growth of the plant. Once you have selected your grow bags, fill them with soil and compost.
You can also mix in other necessary nutrients such as perlite or vermiculite to ensure excellent drainage and proper nutrient uptake by the plants.
The amount of soil required will depend on the size of your grow bag, but aim for filling it three-quarters full.
When filling up the grow bags, make sure to avoid over-packing as this can create an overly compacted growing medium that may not be suitable for healthy plant development.
Also, avoid using garden soil from outside since this may contain pests or diseases that could harm your pumpkins.
Creating Drainage Holes
Drainage is a critical factor when growing pumpkins in grow bags. Without sufficient drainage holes at the bottom of your grow bags, excess water will accumulate and lead to root rot or other fungal diseases.
To ensure proper drainage, use a sharp tool such as scissors or a knife to create several small holes at the bottom of each grow bag.
Aim for making approximately six evenly spaced holes about one inch in diameter each. It’s crucial to create these holes before planting your pumpkins since adding them once you’ve planted can damage and disturb young roots.
After creating drainage holes at the bottom of your grow bags, place them on top of drip trays or saucers to catch any excess water that comes out from the drainage holes. This helps keep your plants healthy while keeping floors clean and dry.
By filling your grow bags with nutrient-dense soil and compost, and creating the necessary drainage, you are off to an excellent start towards growing healthy pumpkin plants.
In the next section, we will discuss how to plant the seeds or seedlings in the grow bags.
Planting Pumpkin Seeds or Seedlings
The Basics of Planting Pumpkin Seeds and Seedlings in Grow Bags
To plant pumpkin seeds or seedlings in grow bags, start by filling the grow bag with high-quality soil.
Choose a grow bag that is at least 18 inches deep to ensure enough space for the roots to develop. The grow bag should have drainage holes at the bottom to prevent waterlogging.
When planting pumpkin seeds, place two or three seeds about an inch deep into each hole. After germination and emergence of seedlings, thin out the weakest ones.
If planting seedlings, dig a hole as deep as the root ball and place it in the center of the grow bag. Pumpkin plants require enough space to spread out their leaves, so it’s essential to leave sufficient space between them.
Generally, each pumpkin plant requires about 3-6 feet of space for optimum growth. Spacing between plants is dependent on their variety; however, it should be approximately 18-24 inches apart.
Watering and Fertilizing Pumpkin Plants in Grow Bags
Pumpkins are heavy feeders; hence they require regular watering and fertilization throughout their growing period.
Water your pumpkins deeply but infrequently; this allows water to penetrate deeply into the soil, encouraging deeper rooting systems.
It would help if you watered your pumpkins every four days during hot weather conditions while reducing watering frequency when temperatures drop.
Fertilize pumpkins with organic fertilizers such as well-rotted manure or compost before planting them in a grow bag then sprinkle some fertilizer mid-season after they start blooming.
Alternatively, use synthetic fertilizers that contain high amounts of nitrogen (N) during vegetative growth stages. During fruit formation stages use fertilizers that contain more phosphorus (P) than nitrogen (N).
It’s important to note that overfeeding or underfeeding pumpkin plants can lead to poor fruit development, challenges in pollination, and lower yield. Therefore, follow the recommended feeding schedule for each variety.
Supporting Pumpkin Plants
Pumpkin plants tend to grow rapidly and may require support when growing in a grow bag. When the pumpkin plant reaches a height of about 1-2 feet tall, stake it with a stick or trellis.
This support system will prevent the plant from collapsing due to the weight of fruits.
Additionally, use pruning shears to remove any damaged or diseased leaves and vines; this will encourage airflow around the plant canopy.
It’s advisable to prune back some side vines on bushier varieties when they reach about ten inches long to increase airflow and improve light penetration.
Growing pumpkins in grow bags is an excellent way of gardening even if you have limited outdoor space. Proper planting techniques coupled with adequate care will ensure you get healthy and juicy pumpkins come harvest time.
Maintaining Pumpkin Plants in Grow Bags
Pruning for Healthy Growth
Pumpkins can grow quite large, so it’s important to prune them regularly throughout the growing season to maintain healthy growth. Pruning promotes airflow and prevents diseases from developing.
To prune your pumpkin plants, use a sharp pair of gardening shears to remove any dead or damaged leaves or vines. You should also remove any lateral shoots that emerge from the base of the plant, as these can compete with the main vine for nutrients.
Pest Control Measures
Pumpkin plants are susceptible to several types of pests, including squash bugs, cucumber beetles, and vine borers. To prevent these pests from damaging your pumpkin plants, you can use natural pest control methods such as companion planting or insecticidal soap sprays.
Companion planting involves growing other plants that repel pests near your pumpkin plants. Insecticidal soap sprays are made from natural ingredients such as castile soap and neem oil and are an effective way to kill pests without harming your pumpkin plants.
Disease Prevention Strategies
Preventing disease is key to maintaining healthy pumpkin plants in grow bags. One common disease that affects pumpkins is powdery mildew, which presents itself as a white powdery substance on the leaves of the plant.
To prevent powdery mildew from developing on your pumpkin plants, make sure they have adequate air circulation and avoid getting water on their leaves when watering.
Providing Support for Growing Pumpkins
As pumpkin plants grow larger and heavier, they may require additional support in order to prevent their vines from breaking or bending under their own weight.
Staking or trellising your pumpkin vines is an effective way to provide this support. To stake your pumpkins, insert wooden stakes into the soil near the base of the plant and tie the vines to the stakes using twine.
For trellising, install a sturdy trellis system near your grow bags, and train your pumpkin vines onto the trellis as they grow. This will help keep them off the ground and make it easier to harvest your pumpkins once they ripen.
Harvesting Pumpkins from Grow Bags
Knowing When to Harvest Your Pumpkins
Once your pumpkin plants have started setting fruit, it’s important to keep a close eye on them so you can harvest the pumpkins at the right time.
The ideal time to harvest pumpkins is when they have reached their full size and the skin has hardened. You can test whether a pumpkin is ripe by pressing your fingernail into the skin – if it doesn’t leave an indentation, it’s ready to harvest.
Another way to tell if a pumpkin is ripe is by looking at its stem – when the stem of a pumpkin turns brown and dries out, it means that the fruit is mature and ready for harvesting.
If you plan on storing your pumpkins for any length of time, be sure to cut them off the vine with at least 4 inches of stem intact.
The Best Way to Harvest Pumpkins
Harvesting pumpkins from grow bags is very simple. To remove a pumpkin from a grow bag, first cut off any remaining vines or leaves that are attached to it, then grasp the fruit firmly and twist gently until it comes loose.
Be careful not to damage or puncture the skin while you’re harvesting – this can make your pumpkins vulnerable to rot or other types of damage. If you need help lifting heavy pumpkins out of grow bags, use a wheelbarrow or enlist some friends or family members to give you a hand.
Conclusion and final thoughts 💭
Growing pumpkins in grow bags can be a fun and rewarding experience for gardeners of all skill levels.
Whether you’re short on space in your yard or just looking for an alternative way to cultivate these popular fall fruits, using grow bags offers numerous advantages over traditional methods.
By following these tips on how to prepare and care for your grow bags, choosing the right variety of pumpkin, planting and fertilizing correctly, and harvesting your pumpkins at the right time, you can produce big healthy pumpkins that are perfect for Halloween decorations, pies, or just admiring on your front porch.
So get started on your pumpkin-growing adventure today – with a little bit of patience and dedication, you can enjoy a bountiful harvest of delicious pumpkins from your own backyard!

