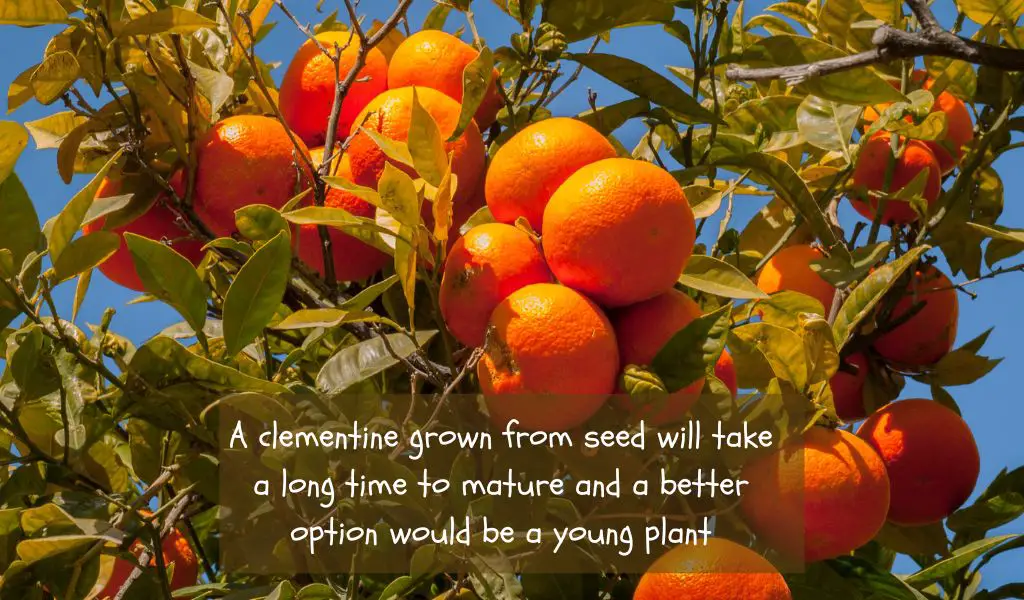
I absolutely love clementines! These sweet, juicy, and easy-to-peel citrus fruits are a delightful snack all year round.
But have you ever wondered if you could grow your own clementine tree from store-bought fruit? Well, wonder no more!
In this blog post, I’ll walk you through a step-by-step guide on how to grow clementines from the store. Let’s get started!
Choosing the Right Clementines
First things first: you need to pick the perfect clementines to start your gardening journey.
Keep an eye out for plump, firm, and heavy fruits with a vibrant orange color.
Additionally, try to find seed-bearing clementines, as they are more likely to sprout successfully.

Preparing the Seeds
Now that you’ve got your hands on some quality clementines, it’s time to prepare the seeds.
Here’s how:
A. Remove the seeds
Carefully peel the clementine and extract the seeds. It’s a good idea to save more seeds than you plan to plant, just in case some don’t sprout.
B. Clean the seeds:
Gently rinse the seeds under running water to remove any fruit residue, and then pat them dry with a paper towel.
C. Soak the seeds:
Place the cleaned seeds in a bowl of water and let them soak for 24 hours. This helps to soften the seed coat and promote germination.
Planting the Seeds
The next step is to plant the clementine seeds in a suitable growing medium.
You’ll need the following:
A. A seed tray or small pots: Choose a container with drainage holes to prevent overwatering.
B. Seed starting mix: Opt for a well-draining, sterile mix to ensure healthy seedlings.
C. Plant the seeds: Fill your container with the seed starting mix and plant the seeds about ½ inch deep, then cover them with more mix.
Water the seeds lightly to moisten the soil.
Providing Optimal Growing Conditions
To give your clementine seeds the best chance of success, follow these guidelines:
A. Temperature: Clementine seeds require a warm environment to germinate.
Aim for a temperature range of 70-75°F (21-24°C). You may need to use a heat mat if your home is cooler than this.
B. Humidity: To maintain humidity, cover your seed tray or pots with a plastic wrap or dome.
This creates a mini greenhouse effect, which helps to retain moisture.
C. Light: Place your seeds in a bright spot with indirect sunlight.
Avoid direct sunlight, as it may cause the soil to dry out too quickly.
D. Patience: Clementine seeds can take anywhere from 2 to 6 weeks to germinate, so be patient and keep the soil consistently moist during this time.
Transplanting and Caring for Your Clementine Seedlings
Once your clementine seeds have germinated and developed a few sets of true leaves, it’s time to transplant them to larger pots.
Here’s how to care for your seedlings:
A. Transplant: Gently transplant your seedlings into 4-6 inch (10-15 cm) pots filled with high-quality potting mix.
Handle the seedlings with care to avoid damaging their delicate roots.
B. Light: Provide your clementine seedlings with plenty of bright, indirect sunlight.
As they grow, you can gradually introduce them to more direct sunlight.
C. Watering: Water your seedlings regularly to keep the soil evenly moist but not waterlogged.
Overwatering can cause root rot and other issues.
D. Fertilizing: Feed your clementine seedlings with a balanced, slow-release fertilizer or a diluted liquid fertilizer every 4-6 weeks.
Follow the manufacturer’s instructions for application rates.
E. Pruning: As your clementine tree grows, you may need to prune it to maintain a healthy shape and size.
Regularly remove any dead or diseased branches, and trim back any excessive growth.
Moving Your Clementine Tree Outdoors
If you live in a suitable climate (USDA hardiness zones 9-11), you can transplant your clementine tree outdoors once it has grown strong enough.
Here’s how:
A. Choose a location:
Find a sunny spot in your garden with well-draining soil. Clementine trees require at least 6-8 hours of direct sunlight per day.
B. Prepare the soil:
Amend the planting area with compost or aged manure to improve soil structure and nutrient content.
C. Transplant:
Dig a hole twice as wide and just as deep as your clementine tree’s root ball.
Gently place the tree in the hole, ensuring that the top of the root ball is level with the surrounding soil.
Fill in the hole with soil and water thoroughly to settle the soil.
D. Mulch:
Apply a 2-3 inch (5-7.5 cm) layer of organic mulch around the base of your clementine tree.
This helps to retain moisture and suppress weeds.
Harvesting Your Homegrown Clementines
Patience is key when it comes to growing clementines from the store, as it may take several years for your tree to bear fruit.
But trust me, the wait is worth it!
Once your tree starts producing fruit, you’ll be rewarded with delicious, homegrown clementines that taste even better than the ones from the store.
Conclusion and final thoughts
Growing clementines from the store is a fun and rewarding project that lets you enjoy the sweet taste of success, quite literally!
Follow this step-by-step guide, and with some patience and care, you’ll be on your way to harvesting your very own juicy clementines. Happy gardening!


